
Started

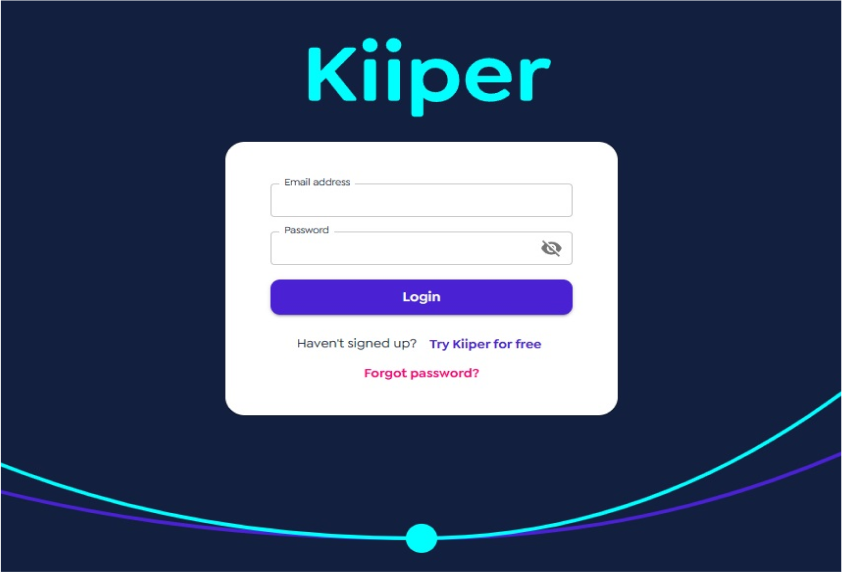
How to access Kiiper?
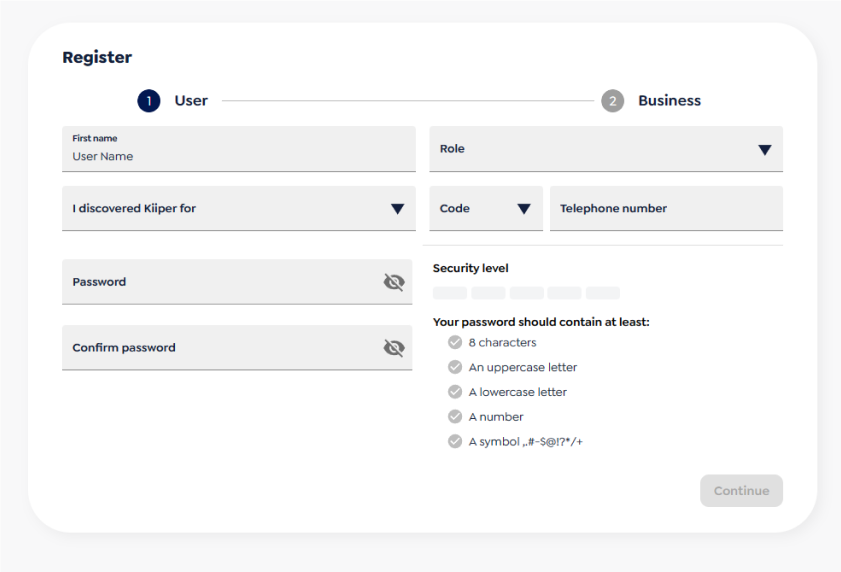
How to create a Kiiper account?
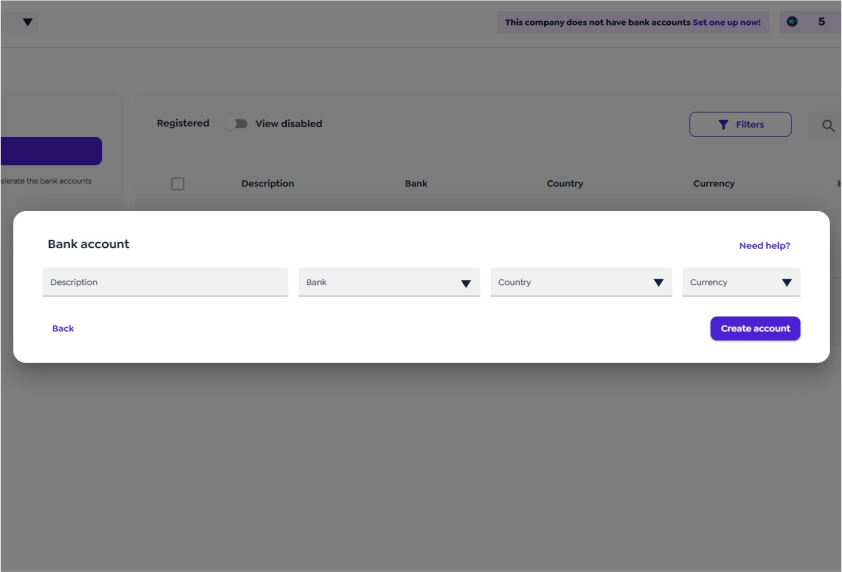
How to register bank accounts in Kiiper?
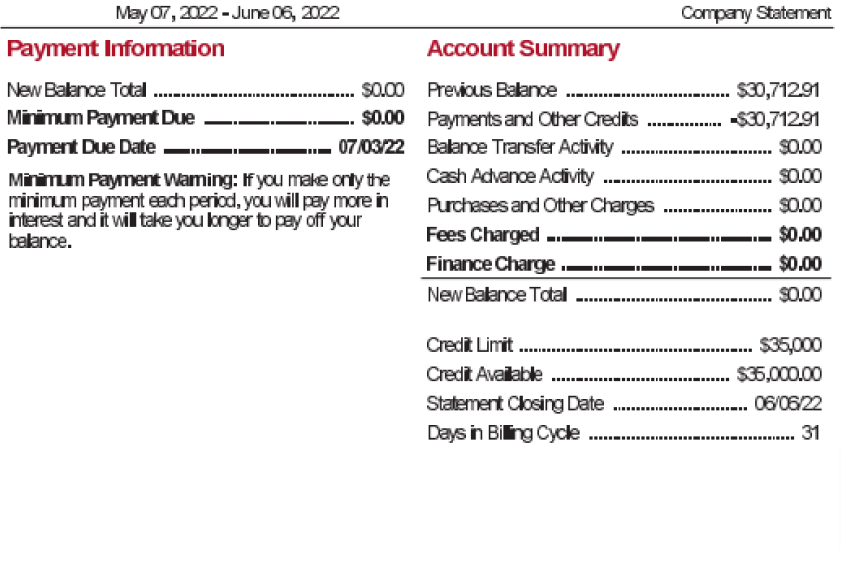
How to download a searchable bank statement?
How to convert a searchable bank statement in Kiiper?

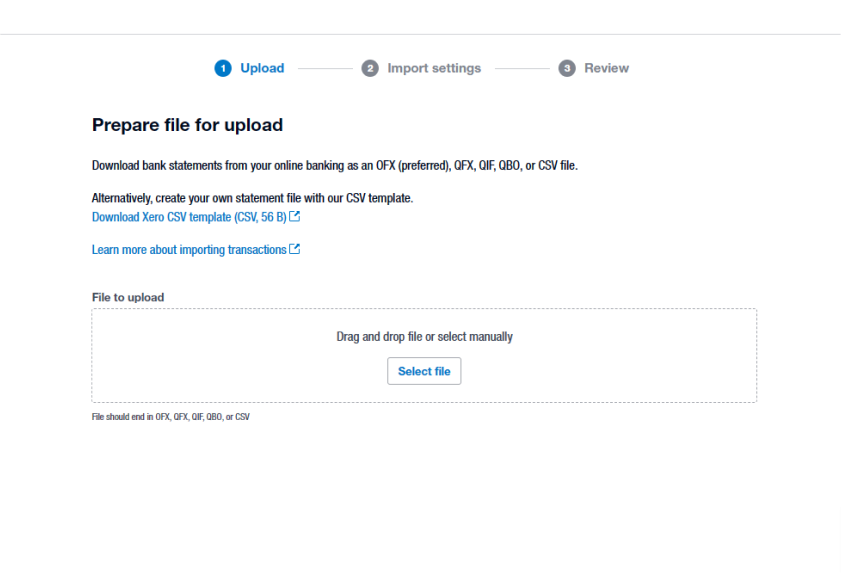
How to import bank statement into accounting software?
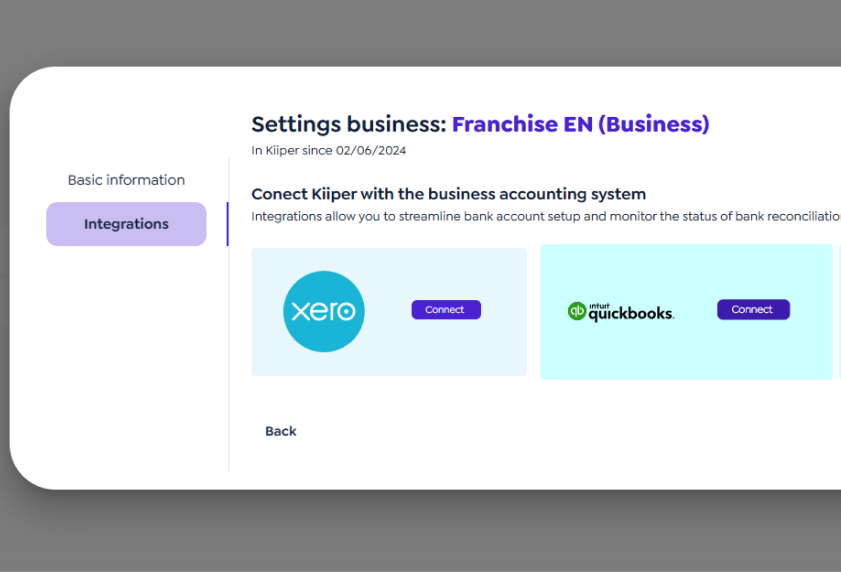
How to integrate Kiiper and Xero?

How to integrate Kiiper and QBO?
How to access Kiiper?
How to create a Kiiper account?
How to register bank accounts in Kiiper?
How to download a searchable bank statement?
How to convert a searchable bank statement in Kiiper?
How to import bank statement into accounting software?
How to integrate Kiiper and Xero?
How to integrate Kiiper and QBO?